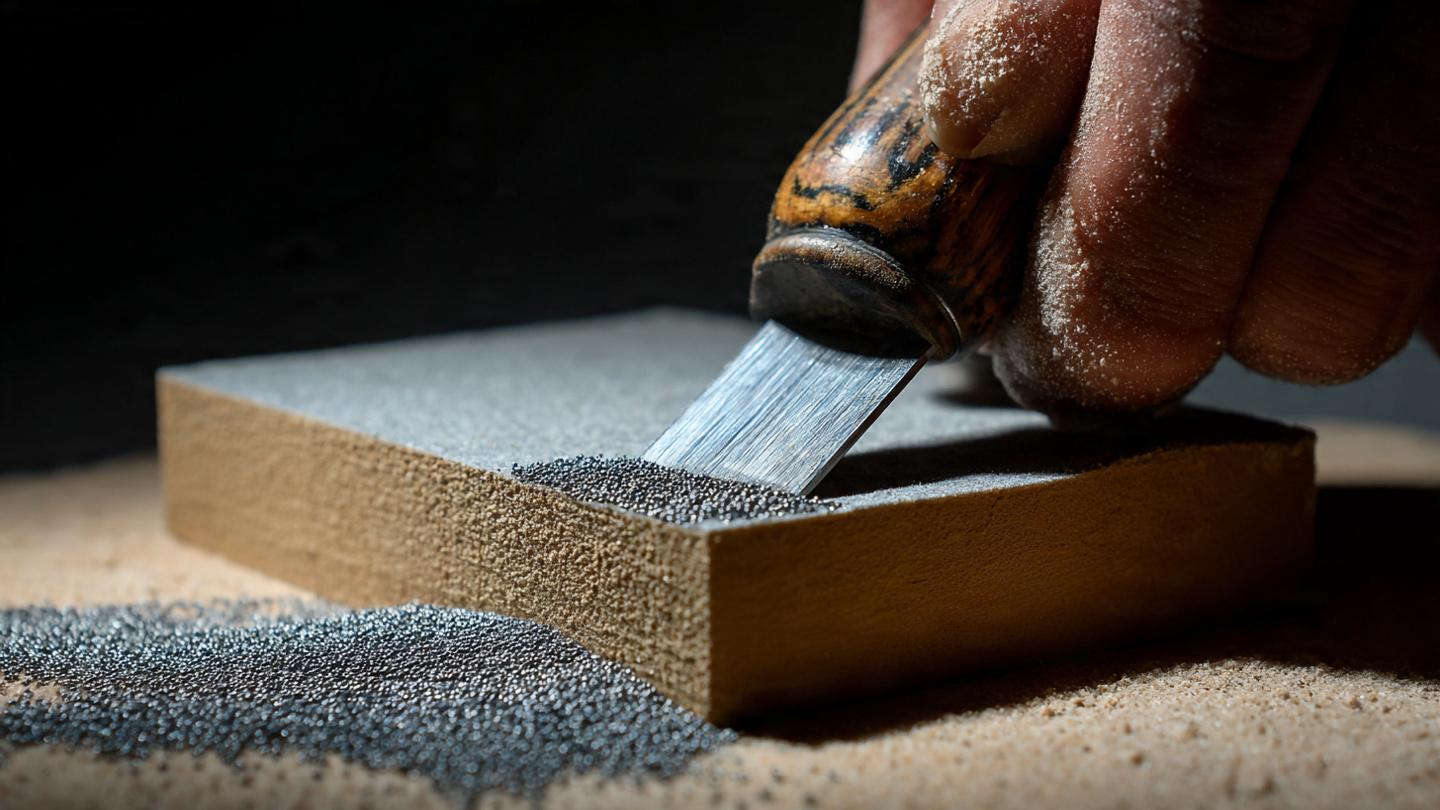
If you want to sharpen chisel with sandpaper, here is the good news: you do not need a $300 water stone set, a honing guide, or a powered grinder to fix this.To sharpen chisel with sandpaper, you need a flat surface and these items:Buy Now
When you sharpen chisel with sandpaper, start by flattening the back first.
Here is the good news: you do not need a $300 water stone set, a honing guide, or a powered grinder to fix this. You need five sheets of sandpaper, a flat piece of scrap MDF or plywood, and about twenty minutes of patience. This method is called the “Scary Sharp” system, and it is the same technique professional woodworkers used before diamond plates and ceramic stones became trendy.
If you maintain other wooden tools in your shop, check our guide to restoring dry wood furniture to keep your handles and workbenches in top shape.
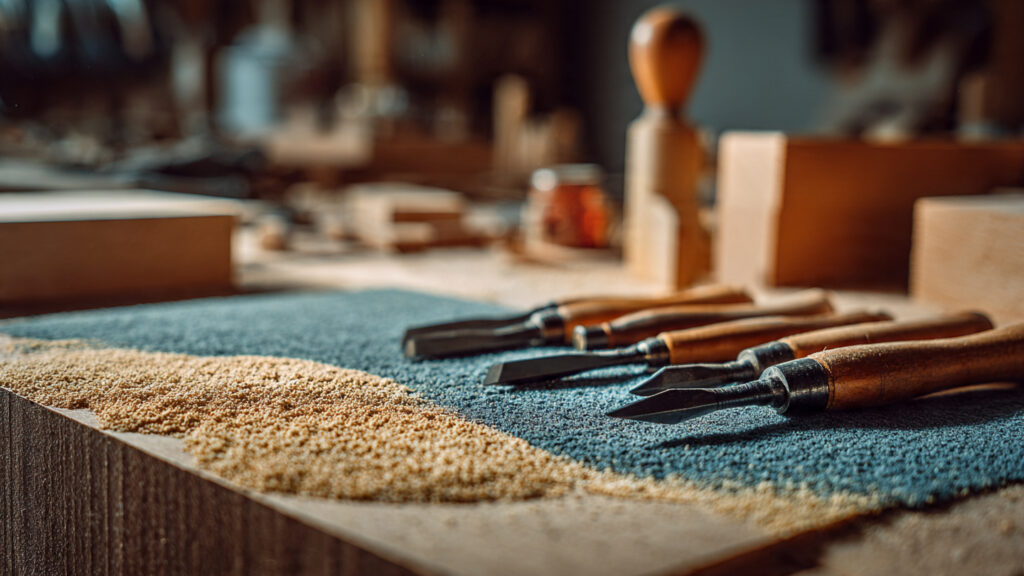
Materials and Tools to Sharpen Chisel with Sandpaper
Before you start, gather everything on a flat surface. Nothing kills sharpening momentum like hunting for the right grit while your chisel cools down.
| Item | Specification | Cost |
|---|---|---|
| Sandpaper (dry) | 80, 120, 220, 400, 800, 1500 grit — 1 sheet each | $3 |
| Sandpaper (wet/dry) | 2000 and 2500 grit — 1 sheet each | $2 |
| Flat substrate | Scrap of 3/4-inch MDF, melamine, or granite tile (must be dead flat) | $0 |
| Spray adhesive or double-sided tape | 3M Super 77 or painter’s tape | $5 |
| Water spray bottle | Any clean spray bottle | $1 |
Total cost: $5 to $12 if you need to buy sandpaper. Under $2 if you already have a few grits in your shop.
My grandfather taught me to use a piece of 1/4-inch plate glass from an old picture frame as the flat substrate. Glass is naturally dead flat, and you can see through it to check for bubbles under the sandpaper. For more on flat surfaces in woodworking, see this sharpening guide from Popular Woodworking.
📋 Step-by-Step Sharpening Process
This process takes about 20 minutes of active work. I have broken it into six steps. Do not skip the marker step — it is the difference between a perfect bevel and a ruined edge.
1 Color the Bevel with a Permanent Marker
Before you touch sandpaper, color the entire bevel of your chisel with a black permanent marker. Cover every millimeter from the cutting edge back to where the bevel meets the flat back. When you make your first pass on the sandpaper, the marker will scratch off in specific spots. If the marker disappears evenly across the entire bevel, your chisel is sitting flat and you are grinding the correct angle.
2 Flatten the Back First
The back of the chisel matters as much as the bevel. If the back is not perfectly flat and polished, the edge will never be truly sharp. Spray your 220-grit sandpaper lightly with water and stick it to your flat substrate. Lay the chisel flat on its back and push it forward and backward in straight lines.
Work until the entire back shows a uniform scratch pattern with no dark spots. Progress through 400, 800, and 1500 grit on the back. Wipe the back clean between grits. Inspect it under a bright light. It should look like a dull mirror with fine, even scratches.
3 Establish the Primary Bevel at 220 Grit
Flip the chisel over and work the bevel. Stick fresh 220-grit paper to your substrate. Hold the chisel so the bevel sits flat on the sandpaper at around 25 degrees. Push the chisel forward and pull it back in straight strokes. Keep the chisel perpendicular to the direction of travel.
Your goal at 220 grit is to remove any nicks, chips, or rounded-over dullness. Keep going until the edge is a clean intersection of two planes with no visible flat or curve at the tip.
4 Refine Through the Grit Progression
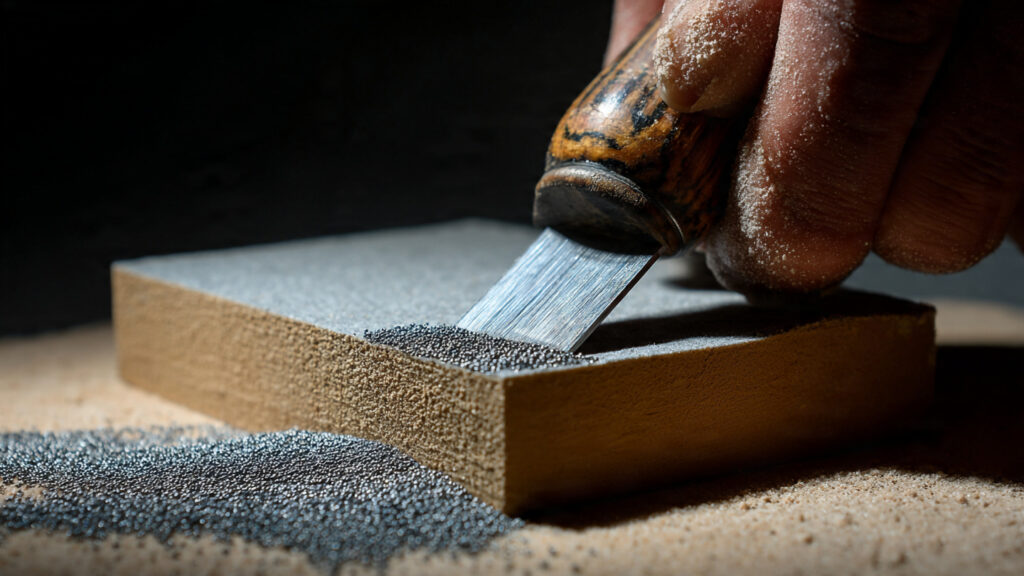
Once the edge is clean at 220 grit, progress through 400, 800, 1500, 2000, and finally 2500 grit. At each grit, do ten to fifteen strokes on the bevel, then five strokes on the back. This alternation removes the burr that forms on the back edge as you sharpen the bevel.
Between grits, wipe the chisel and the sandpaper clean of steel dust. Steel particles from a coarse grit will embed in the fine grit and scratch your edge backwards. At 2500 grit, the bevel will look like a satin mirror.
If your chisel back is taking forever to flatten, lay a thin metal ruler on your sandpaper, then rest the chisel back on the ruler. This raises the back slightly and hones only the last inch near the edge — the only part that actually contacts the wood.
5 Remove the Burr with Back Strokes
After your final grit on the bevel, a microscopic burr hangs off the back edge. Lay the chisel flat on your finest grit sandpaper and push the chisel backward, dragging the edge away from the direction of travel. Do this five times. Then flip to the bevel and do two light strokes.
Test the edge by slicing through a piece of end-grain pine. If it cuts cleanly with no tearing, the burr is gone. For more cutting board maintenance tips, see our guide on seasoning a wooden cutting board.
6 Strop for a Shaving-Sharp Edge
If you want an edge that pops hairs off your arm like a straight razor, finish with a strop. Glue an old leather belt to a flat piece of wood — flesh side up. Rub a bar of green honing compound into the leather. Lay the chisel bevel on the strop and pull it backward, away from the edge. Do this ten times.
🚫 Common Mistakes Beginners Make
How to Test if You Sharpened Chisel with Sandpaper Correctly
Mistake 1: Starting with Too Fine a Grit
Beginners see 2500-grit sandpaper and think “finer is better.” It is not. If your chisel has a rolled edge or a chip, 2500 grit will polish the dullness without removing it. Always start coarse enough to remove the damage, then progress fine. For a moderately dull chisel, 220 grit is the right starting point.
Mistake 2: Changing the Bevel Angle
Without the marker trick, your wrist will drift. You will start at 25 degrees, get tired, and end at 30 degrees by the final grit. Now your edge is thick, wedge-shaped, and requires twice as much force to push through wood. Use the marker. Check your angle every two minutes.
Mistake 3: Ignoring the Burr
The burr is invisible but deadly. It is the difference between a chisel that slices and one that tears. After your final grit, always do back strokes. Always. For a complete maintenance routine, read our complete guide to wooden cutting boards.
🛡️ Safety Guidelines
Sharpening demands respect. The edge you are creating is designed to cut flesh easier than wood. Wear cut-resistant gloves on your non-dominant hand if you are new to this. Work in good light. A shadow across your bevel hides uneven scratches.
Keep your sandpaper substrate stable. If the paper slides on the bench while you are pushing the chisel, your hand will shoot forward and the edge will find your palm. Tape the substrate to the bench. Use a non-slip mat underneath. For general workshop safety standards, refer to Wikipedia’s woodworking safety overview.
❓ Frequently Asked Questions
🏁 Conclusion
Sharpening a chisel with sandpaper is not a compromise. It is a legitimate, professional-grade method that predates every fancy stone and diamond plate on the market today. The edge you produce is limited only by your patience and your attention to detail — not by your budget.
You do not need a $500 sharpening station. You need a flat surface, five sheets of sandpaper, a permanent marker, and the discipline to check your angle every two minutes. Flatten the back. Establish the bevel. Progress through the grits. Remove the burr. Strop if you want shaving-sharp. That is the entire system.
🪵 Ready to build something with that razor-sharp edge?
Check out our best oil for cutting boards 2026 guide to protect your projects, or explore our wood furniture restoration tips to keep your shop tools lasting for years.